Contents
I. Introduction
NPS, or Network Policy server, is one of the roles available since Windows 2008 server. It is the replacement for IAS (Internet Authentication Service) available on Windows 2003 Server. Since Windows Server 2008, this role has changed very little, which will allow you to apply it if you are on an earlier version of Windows Server. NPS relies on RADIUS (Remote AuthenticationDial-In User Service) a client-server protocol to centralize authentication data, allowing the connection to be connected under certain conditions.
In this tuto we’ll see how to install the NPS role, then we’ll set up a client (a switch) and a policy.
II. Install the NPS role
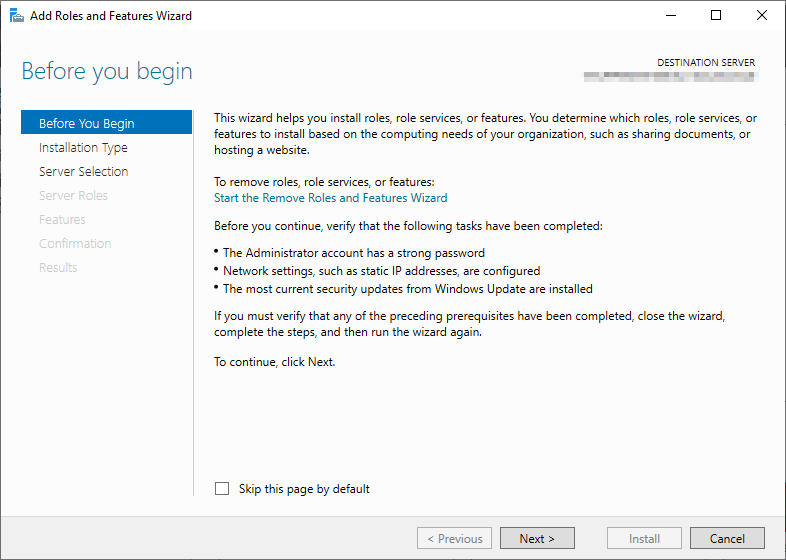
As with any new feature to install via the graphical interface, you start by accessing the Server Manager and then the Manage – Add Roles and Features tab
Click On Next until you choose the feature:


- Select “Network Policy and Access Services“

- Click Next to the last screen of the installation assistant, then “Install“


- Once installed, always in the Server Manager, go to Tools and then “Network Policy Server“

- Once launched, select “Register server in Active Directory“

Your server is now installed. Everything is ready to set up the first customers!
III. Set up a client
Now let’s move on to setting up a customer.
From a Windows perspective, a customer is a team that will connect to the NPS server to authenticate the user under certain conditions.
To add a new customer to do this:
- Click right on RADIUS Customers and then New:

- Learn more as requested below:
- 1: The name (to identify the equipment)
- 2: IP address or DNS name
- 3: The shared key that will be informed on the switch side also

- “Advanced” tab: Specify the Vendor name by choosing “Cisco”

- Once the setup is complete, you’ll be able to find your new customer in the list

Iv. Set up a policy
There is still one more step for the equipment to connect to the RADIUS server: the authentication policy!
- To set up a new policy, you have to go to the Network Policies section and then click right and select New

- Enter the policy name and leave the settings as below:

- Select a connection condition: here I chose to allow the connection to members of a certain group

- Select authentication methods as below

- In terms of attributes, you can delete “Framed-protocol,” and set “Service-type” to “Login”

- Then you’ll need to add a Vendor Specific Attribute. Click on “Add” and select: Cisco-AV-Pair. You will then need to provide information about the desired value: shell:priv-lvl-15. This setting specifies what privilege the user is assigned after he has authenticated (15 being the highest level, 1 the lowest).

- Finally, a summary of the various parameters provided:

V. Set up equipment
Finally, we’ll see how to set up an equipment to authenticate users via the radius server.
First, you need to define a local user that will be used if the radius server is not accessible:
|
1 2 3 4 5 6 7 |
Press RETURN to get started. Router1# <span class="cmd">enable</span> Router1# <span class="cmd">config terminal</span> Enter configuration commands, one per line. End with CNTL/Z. Router1(config)<span class="cmd">#username LOCALUSER private 15 secret s%$)çy545Yz'(t@ergert$-ù't%$</span> Router1(config)# |
Then we can activate a new AAA model and set up the RADIUS server
|
1 2 3 4 5 6 |
Router1(config)<span class="cmd">#username LOCALUSER private 15 secret s%$)çy545Yz'(t@ergert$-ù't%$</span> Router1(config)<span class="cmd">#aaa group server radius RADIUS-SERVERS</span> Router1(config-sg-radius)<span class="cmd">#server-private RADIUSIPSERVER at the th-port 1812 acct-port 1813 key ('-%-à--"('efhgf'""</span> Router1(config)<span class="cmd">#aaa authentication login default group RADIUS-SERVERS local</span> Router1(config)<span class="cmd">#aaa authorization exec default group RADIUS-SERVERS local if-authenticated</span> Router1(config)<span class="cmd">#aaa console authorization</span> |
That’s all!
It’s up to you! 🙂
Image source on the front page
Hi ! I’m Maxime. Founder and independant author of vDays.net. I have worked in service IT since 6 years ago, after a 5 years’ internship. Via this blog, I would like share and discuss with you on new technologies, especially on virtualization and VMware. If you want to know more about me, check out my “about me” page or follow me on Twitter and LinkedIn
