In this article, I’ll explain step-by-step how to deploy an OVA via vSphere Client.
To begins, what is an OVA ?
An OVA (Open Virtual Appliance) is a compressed file that contains a pre-parameterized virtual machine.
If you replace the .ova extension with .rar for example, and you make an extract from the archive and you will see the files that make up the VM.
What is the difference between OVA and OVF ?
An OVF (Open Vrtualization Format) is a zip container that contains multiple virtual machines for example. It contains a multiple files.
An OVA is merely a single file distribution of the same file package, stored in the TAR format.
How to deploy an OVA ?
- Select “File” and click on “Deploy OVF Template” (in my example i used an ova from sexilog)

- Browse your files and select your .ova

- Here you can see the OVA details

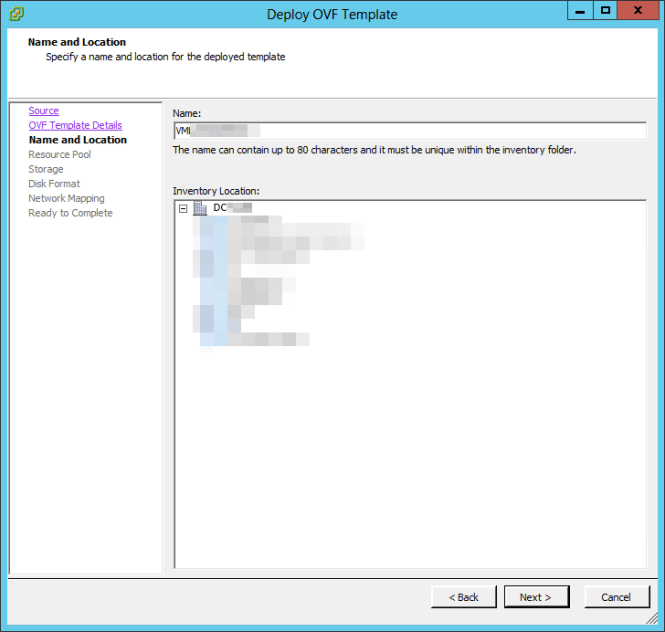
- At this moment, it’s similar to new virtual machine, you select the name of your VM and the folder location
- Select resource pool

- Choose the datastore destination storage

- Select the disk format…

- Choose your network VLAN

- Last step, you can find all deployment settings ! Click finish to start the deployment !

All’s right ? Deployment completed successfully !

If you want to create an OVF, you can download here “OVF Tool”, it’s an official VMware tool, that’s free.
Hi ! I’m Maxime. Founder and independant author of vDays.net. I have worked in service IT since 6 years ago, after a 5 years’ internship. Via this blog, I would like share and discuss with you on new technologies, especially on virtualization and VMware. If you want to know more about me, check out my “about me” page or follow me on Twitter and LinkedIn

Pingback: How to - Install SexiLog for VMware step-by-step - vDays.net
Pingback: [TIPS] - Trying DRS-Lens from VMware labs - vDays.net